Build a docker image for a deployed React app on Nginx and Deno server.

On the weekend, while trying to deploy a project on a private platform, I discovered that it does not support docker-compose. So, I have to build the whole project in the same docker image.
It's not a good practice to combine different services in the same container. But, it's possible to do that if you can't manage things differently as mentioned in the official documentation:
It is generally recommended that you separate areas of concern by using one service per container. That service may fork into multiple processes (for example, Apache web server starts multiple worker processes). It’s ok to have multiple processes but to get the most benefit out of Docker, avoid one container being responsible for multiple aspects of your overall application. You can connect multiple containers using user-defined networks and shared volumes.
The purpose of this article is to build an image for a React application deployed on Nginx which communicates with a deno server.
TL;DR:
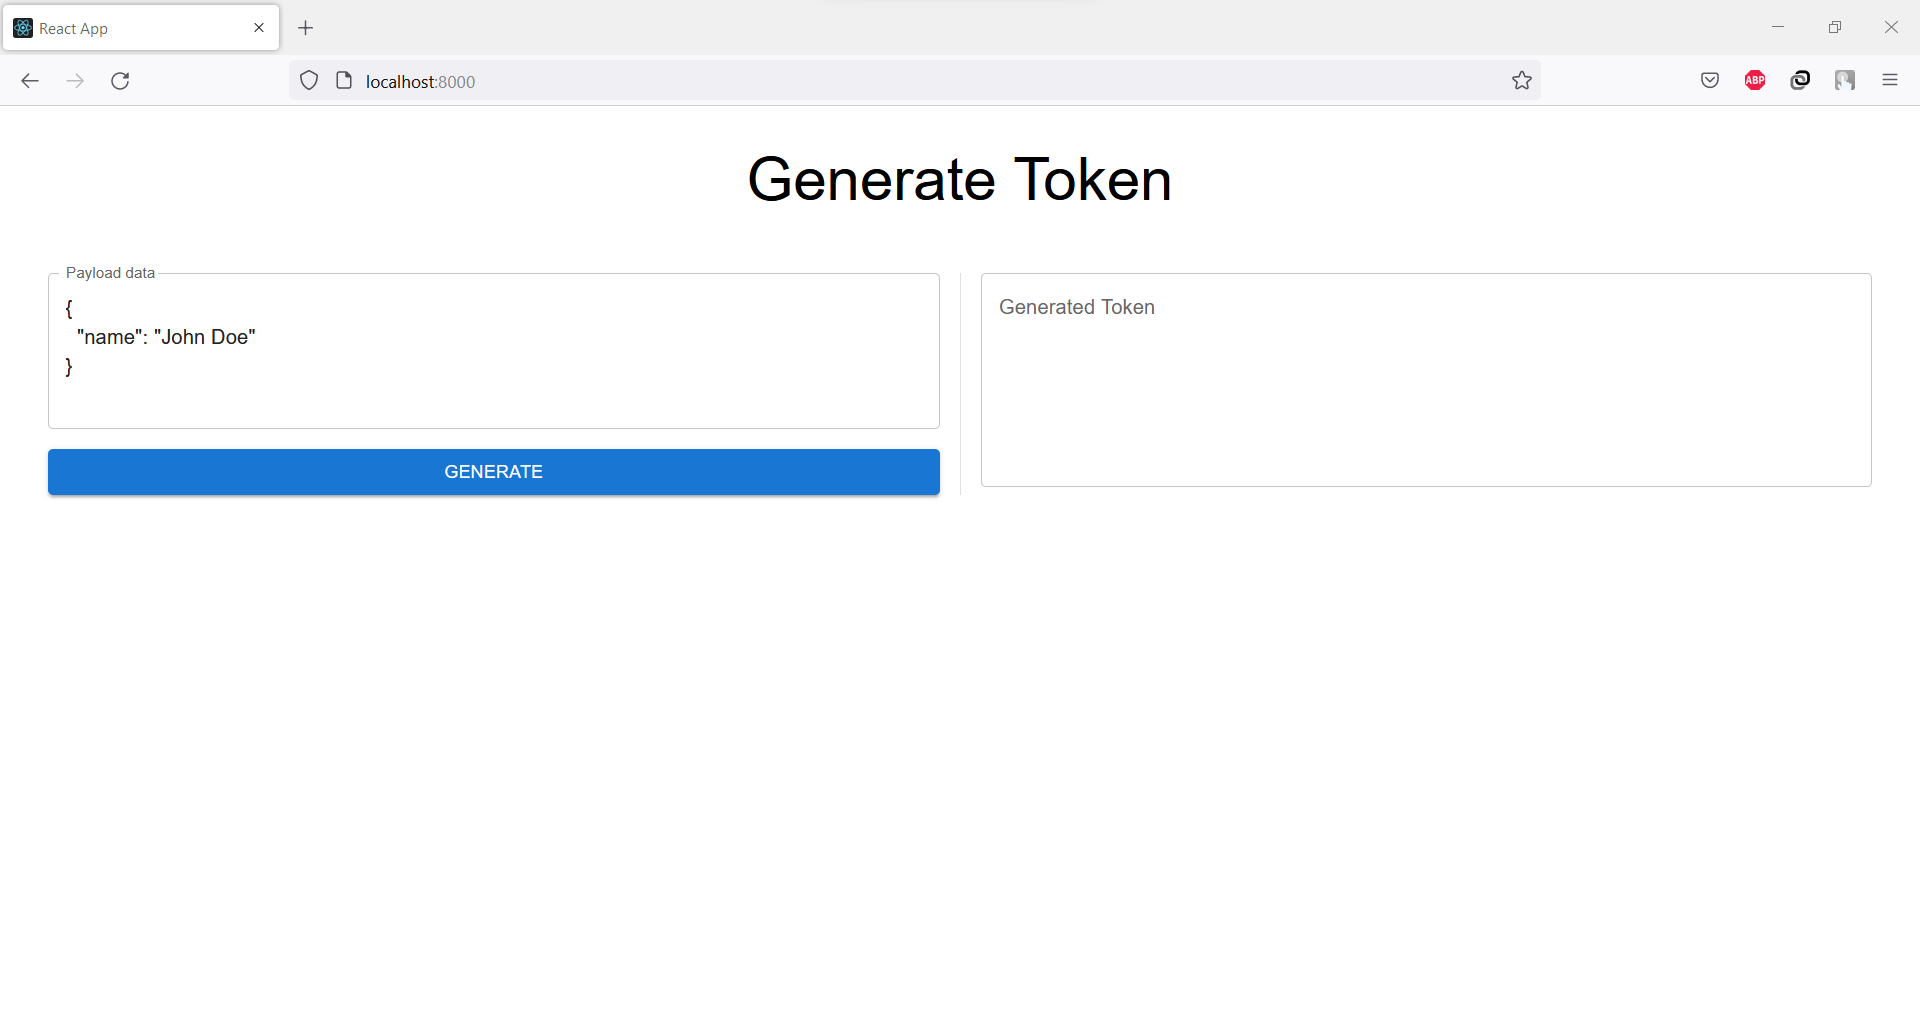
The application contains a UI that allows a user to enter a data payload and the server will generate a jwt token accordingly.
PS: We will not process its creation step by step, and we will focus only on the Dockerfile and the creation of the docker image.
- Clone the project:
git clone git@github.com:slim-hmidi/react-deno-nginx.git
- Open the project folder and go to
Dockerfile:
FROM frolvlad/alpine-glibc:alpine-3.11_glibc-2.31

# install curl & nginx
RUN apk update && apk add curl nginx

# install deno v1.21.3
RUN curl -fsSL https://deno.land/install.sh | sh -s v1.21.3
ENV DENO_INSTALL="/root/.deno"
ENV PATH="${DENO_INSTALL}/bin:${PATH}"


# The working directory of the project
WORKDIR /app

# Copy the backend directory
RUN mkdir server
COPY server/deps.ts ./server/deps.ts
RUN cd ./server && deno cache --unstable deps.ts
ADD server ./server

# Copy the frontend
COPY frontend/build/ /usr/share/nginx/html
COPY ./nginx.conf /etc/nginx/conf.d/default.conf

RUN mkdir -p /run/nginx
COPY ./script.sh ./script.sh
CMD ./script.sh
Now, let's explain the different commands we have used:
The
frolvlad/alpine-glibc:alpine-3.11_glibc-2.31is the base image that docker will use for the build. The choice of an alpine-glibc here is not arbitrary. It's used to optimize the size of the built image and to use theglibcfor compilation.FROM frolvlad/alpine-glibc:alpine-3.11_glibc-2.31curlandnginxare needed for the build, so we install them with:RUN apk update && apk add curl nginxThe application server compiled on
Deno, we install it usingcurl:RUN curl -fsSL https://deno.land/install.sh | sh -s v1.21.3 ENV DENO_INSTALL="/root/.deno" ENV PATH="${DENO_INSTALL}/bin:${PATH}"The working directory is
/app. This instruction will create that directory and go inside it:WORKDIR /appThen we create a folder
serverinside the working directory:RUN mkdir serverCopy the
deps.tsfile which contains all the dependencies to it:COPY server/deps.ts ./server/deps.tsCache the installed dependencies:
RUN cd ./server && deno cache --unstable deps.tsCopy the
serverfrom the host to the docker container:ADD server ./serverBuild the frontend locally in your local machine with
npm run buildand copy it tohtmlfolder undernginxdirectory:COPY frontend/build/ /usr/share/nginx/htmlCopy the
nginx.conffile from the host machine to the docker container:COPY ./nginx.conf /etc/nginx/conf.d/default.conf- Finally, copy the
script.shto the container:COPY ./script.sh ./script.sh CMD ./script.sh
To handle the requests received by the client and send them to the deno server, we need to configure the Nginx server. We create nginx.conf:
server {
   listen  8000;
   location / {
      root /usr/share/nginx/html;
      index index.html index.htm;
      try_files $uri $uri/ /index.html =404;
   }
   location /api {
      proxy_pass  http://localhost:5000;
   }
}
Let's talk more about this configuration...
- We specify the port
8000on which the server listens for the requests:server { listen 8000; } We define two
locations, the first location/allows to serve static files and the second/apifor the proxied server that hosts content for thehttp://localhost:5000.server { listen 8000; location / { } location /api { proxy_pass http://localhost:5000; } }We set the file system in which we store the static files.
server {
 listen  8000;
  location / {
      root /usr/share/nginx/html;
   }
}
We list more than one filename in the index directive.
server {
 listen  8000;
 location / {
      root /usr/share/nginx/html;
      index index.html index.htm;
   }
}
We set the order of the files to be handled while processing the requests by the server :
server {
 listen  8000;
location / {
      root /usr/share/nginx/html;
      index index.html index.htm;
      try_files $uri $uri/ /index.html =404;
   }
}
Finally, we create the script.sh:
#!/bin/ash

# start nginx
nginx -g "daemon off;" &

# start the backend
cd server && deno run --allow-net --allow-env ./index.ts &

# Wait for any process to exit
wait -n

# Exit with the status of a process that exited first
exit $?
Now, you can build the image:
docker build . -t react-deno-nginx-image
Then, run the app:
docker run -p 8000:8000 react-deno-nginx-image
Open http://localhost:8000/ and you will get this page:
Conclusion
In this article, we discussed how you can build an image that contains the whole application process easily but remember that it's not a good practice, and try to create a container per each process.
You can take a look at the whole react-deno-nginx code on my Github. Feel free to create an issue or a pull request if you find any problem.


